Bean Dream Team: How to Cook Perfect Beans in Your Pressure Cooker (Every Time!)
Bean Dream Team: How to Cook Perfect Beans in Your Pressure Cooker (Every Time!)
Hey there, fellow food lover! Let’s be real, cooking dried beans can feel like a bit of a marathon, right? You’ve got the soaking, the simmering, the endless waiting… and sometimes, despite all your efforts, they still turn out a little mushy or, even worse, stubbornly al dente. Believe me, I’ve been there! I remember one unfortunate chili night where my kidney beans were so crunchy, they nearly chipped a tooth. But then, a magical kitchen appliance entered my life and changed everything: the pressure cooker.
If you’ve been eyeing that shiny gadget on your countertop or perhaps wondering if it’s worth the hype for bean cooking, let me assure you: it absolutely is! Cooking beans in a pressure cooker isn’t just faster; it also yields consistently creamy, perfectly cooked beans with minimal effort. It’s truly a game-changer for everything from hearty stews to delicious dips. So, let’s dive in, and I’ll show you exactly how to make your bean-cooking dreams come true!
Why the Pressure Cooker is Your Bean-Cooking Best Friend
First off, why bother with a pressure cooker at all? Well, for beans, it’s all about efficiency and consistency. Traditional stovetop cooking can take hours, requiring constant monitoring to ensure the water level stays adequate and the beans don’t stick or burn. Plus, the cooking time can vary wildly depending on the age and type of bean. It’s a bit of a guessing game!
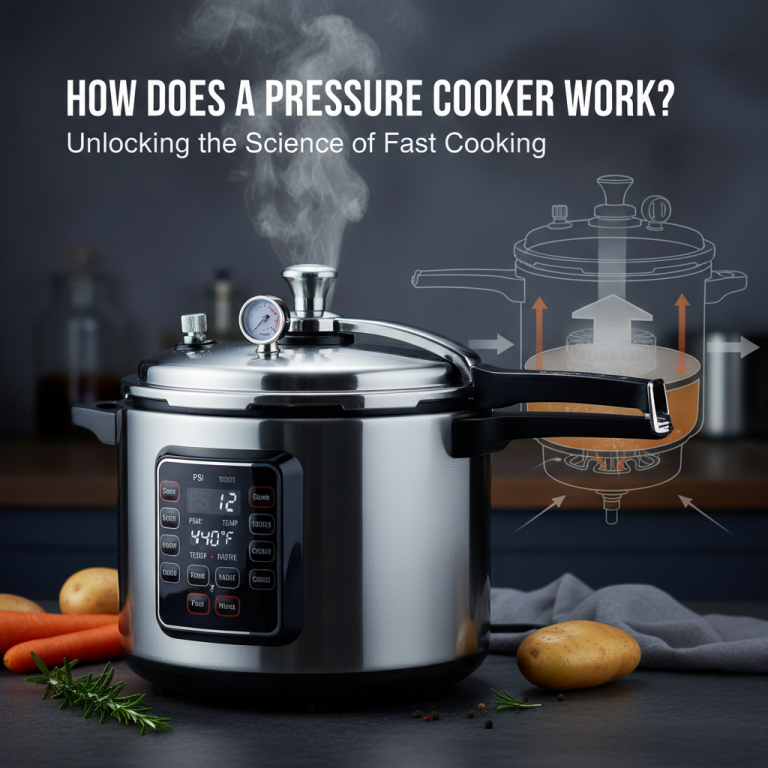
A pressure cooker, however, creates a high-pressure environment that raises the boiling point of water, speeding up the cooking process dramatically. This intense heat and pressure break down the tough outer skin and starch within the beans much faster and more evenly. You’ll go from dried beans to tender, ready-to-eat legumes in a fraction of the time. Plus, it’s hands-off for most of the cooking!
If you’re curious about the science behind it, the Exploratorium has a fantastic explanation of how pressure cookers work, which really highlights why they’re so effective for tough foods like beans. It’s pretty fascinating!
Getting Started: Your Bean Prep Checklist
Before you even think about firing up that pressure cooker, a little prep goes a long way. Don’t worry, it’s super simple!
1. Sort and Rinse Your Beans
This step is crucial and often overlooked. Dried beans, especially those purchased from bulk bins, can sometimes have tiny pebbles, clumps of dirt, or shriveled beans mixed in. Spread your beans out on a light-colored baking sheet or counter and quickly pick through them, removing any debris. Then, give them a good rinse under cold running water in a colander until the water runs clear. This also gets rid of any surface dirt or starchy residue.
2. To Soak or Not to Soak? That is the Question!
Ah, the age-old debate! Here’s the deal: with a pressure cooker, soaking is largely optional for many beans. The pressure cooker is so efficient that it can rehydrate and cook beans beautifully without the overnight soak. However, there are a couple of good reasons why you might still want to:
- Reduced Cooking Time: Soaked beans will cook even faster in the pressure cooker.
- Digestibility: Soaking can help break down some of the complex sugars that cause gas, potentially making beans easier to digest for some people. Harvard’s T.H. Chan School of Public Health has more info on the nutritional benefits of legumes, which are a cornerstone of many healthy diets.
If you choose to soak, simply place your sorted and rinsed beans in a large bowl, cover them with plenty of cold water (at least 3 inches above the beans, as they’ll expand), and let them sit for 6-12 hours, or overnight. For a quick soak, bring the beans and water to a boil, then remove from heat, cover, and let stand for an hour. Always discard the soaking water and rinse the beans thoroughly before cooking.
Pressure Cooker Bean Magic: The Hands-On Part
Alright, you’ve prepped your beans, and you’re ready to cook! Here’s a basic step-by-step for perfect pressure-cooked beans every time.
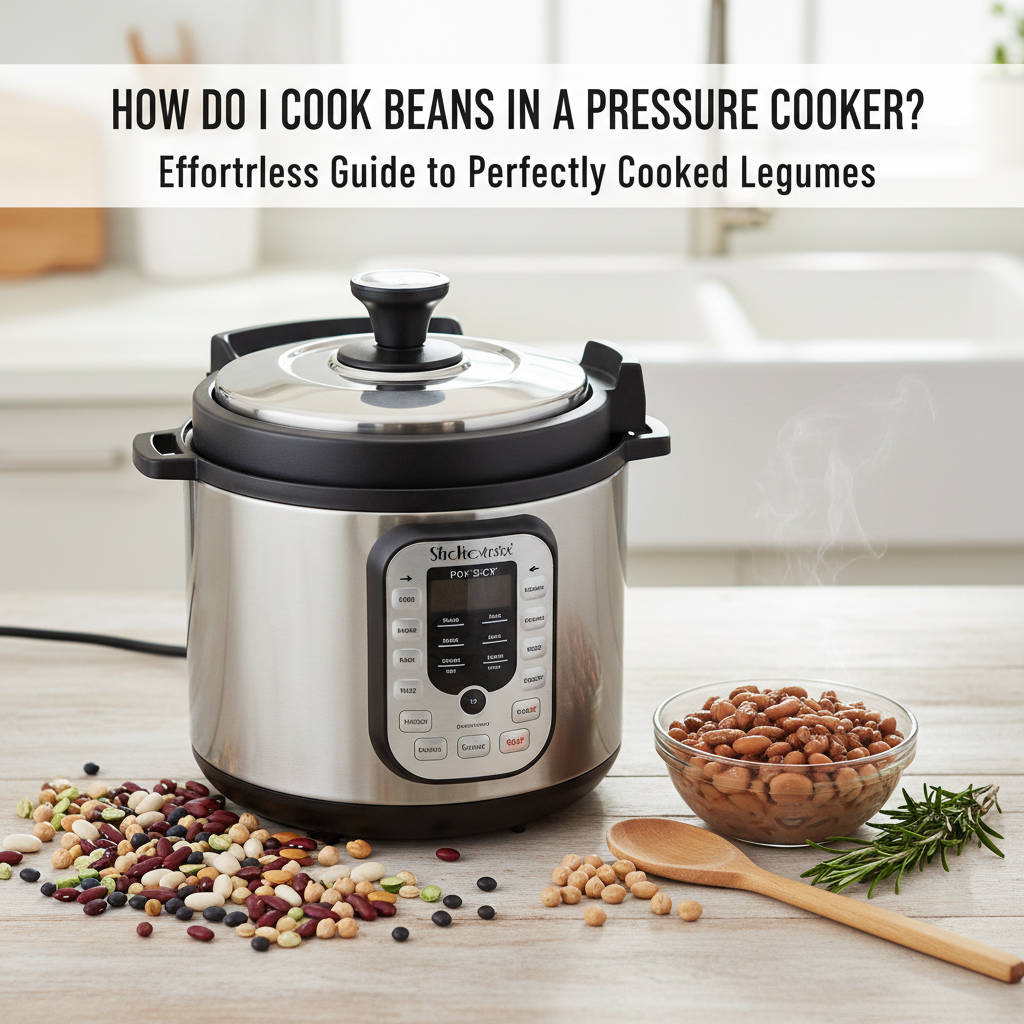
1. Add Beans and Liquid
Transfer your rinsed (and soaked, if you chose to) beans to your pressure cooker pot. For every 1 cup of dried beans, you’ll generally want to add 3-4 cups of liquid. This liquid can be water, vegetable broth, or even chicken broth, depending on the flavor you’re aiming for. I usually stick with water and add aromatics later to keep them versatile.
2. Flavor Boosters (Optional, but Recommended!)
This is where you can infuse some serious flavor right from the start! I love adding a bay leaf or two, a halved onion, a few cloves of garlic (whole or crushed), and maybe a teaspoon of cumin seeds or a pinch of dried herbs. Resist the urge to add salt at this stage, especially if you’re using an older pressure cooker. Some say salt can toughen bean skins if added too early, though modern pressure cookers make this less of an issue. I usually add salt after they’re cooked, for taste.
3. Cook ‘Em Up!
Seal your pressure cooker lid according to your manufacturer’s instructions. Set it to high pressure. Now, for the critical part: timing! Cooking times vary significantly based on the type of bean and whether they were soaked. Here’s a general guide:
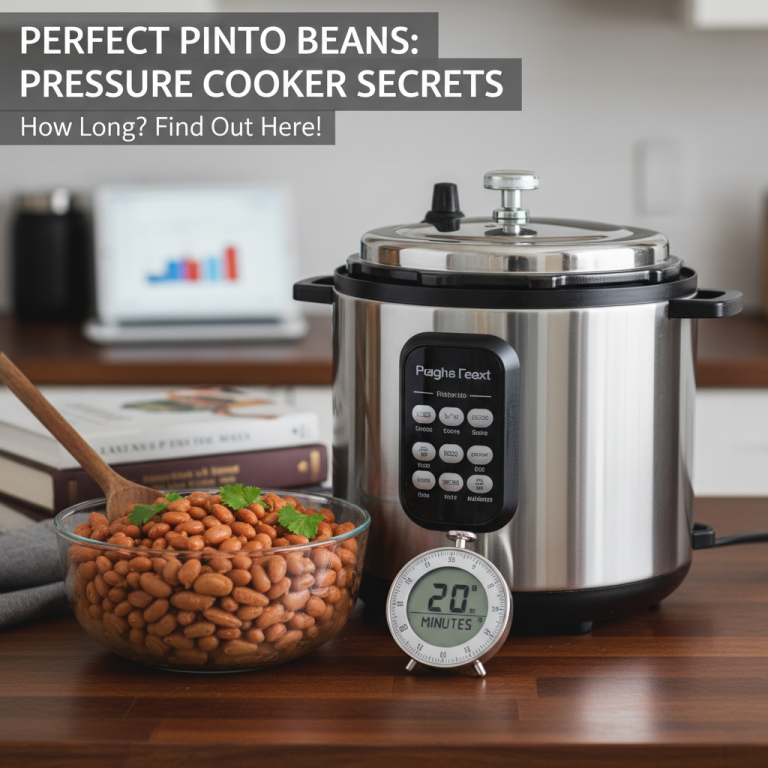
- Small to Medium Beans (Lentils – not typically pressure cooked dried, Black Beans, Pinto Beans, Navy Beans):
- Unsoaked: 25-35 minutes
- Soaked: 10-15 minutes
- Large Beans (Kidney Beans, Chickpeas/Garbanzo Beans):
- Unsoaked: 40-50 minutes
- Soaked: 15-20 minutes
Always refer to your pressure cooker’s manual or a reliable source for specific bean cooking times, like this pressure cooker bean cooking chart from Serious Eats. It’s a lifesaver!
4. Natural Release vs. Quick Release
Once the cooking time is up, you have two options for releasing the pressure:
- Natural Release: Let the pressure release on its own, which can take 15-20 minutes or longer. This gentle release is ideal for beans, as it allows them to slowly cool down and fully hydrate, resulting in a creamier texture and preventing them from bursting. This is my go-to!
- Quick Release: Manually release the pressure immediately after cooking. While faster, this can sometimes make beans burst or be less creamy. I’d typically reserve this for times when I’m in a huge rush, but for best results, stick with natural release.
5. Check for Doneness and Season
Once the pressure has fully released, open the lid. Take out a bean and carefully taste it. It should be tender and creamy, not hard or mushy. If they’re still a bit firm, you can return the lid and cook for another 5-10 minutes under pressure. Once they’re perfectly cooked, now’s the time to stir in salt to taste. You can also add a splash of apple cider vinegar at this point – it brightens the flavor beautifully!
And there you have it! Beautiful, perfectly cooked beans ready for your culinary adventures. You can use them immediately, store them in their cooking liquid in the fridge for up to 5 days, or freeze them for longer storage. I love having a batch of pressure cooker black beans for tacos or rice bowls – they’re so much better than canned!
A Few Pro Tips Before You Go
- Don’t Overfill: Never fill your pressure cooker more than halfway with beans and liquid, as beans expand considerably during cooking, and you need space for foam. This is really important for safety and preventing blockages. You can check your pressure cooker’s manual for specific fill lines.
- Use Fresh Beans: Older beans (over a year old) can take much longer to cook and may never get truly tender. Make sure your dried beans haven’t been sitting in the pantry forever.
- Salt Strategy: As mentioned, add salt at the end. It allows you to adjust the seasoning perfectly without risking tougher skins.
- Embrace the Foam: Some beans, like chickpeas, can produce a bit of foam. It’s usually not an issue in a pressure cooker designed for leguminous fare, but for peace of mind, you can add a tiny drizzle of oil to the water, which can help minimize foaming.
You’ll be amazed at how easy and satisfying it is to cook beans from scratch this way. No more bland, undercooked, or overcooked beans for you! Your pressure cooker is about to become your new best friend for healthy, delicious, and budget-friendly meals. Happy cooking!