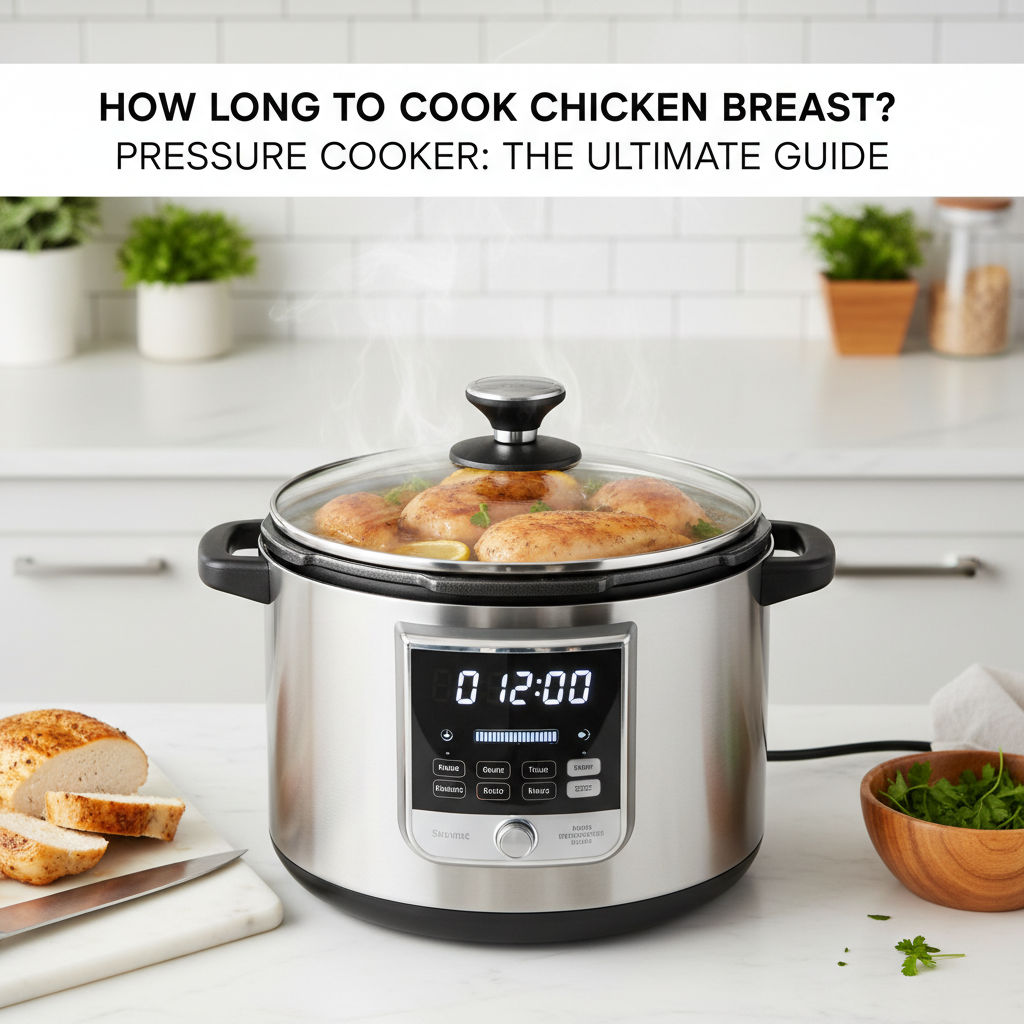
Pressure Cooker Chicken Breast: The Secret to Juicy, Fast Meals (Seriously!)
Hey there, fellow home cooks! Ever stare at a pack of chicken breasts in your fridge and think, “Ugh, what am I going to do with these tonight?” Or maybe you’re just short on time and need dinner on the table, like, five minutes ago? Believe me, I’ve been there. My pressure cooker has become my absolute best friend for those exact moments, especially when it comes to chicken breast. It’s a total game-changer!
Gone are the days of dry, rubbery chicken. We’re talking succulent, perfectly cooked chicken breast in a fraction of the time. If you’ve been wondering how long to cook chicken breast in a pressure cooker, how to get it just right, or even if it’s worth the fuss, you’ve landed in the right spot. Let’s dive in and unlock some seriously speedy, delicious dinners together!
Why Your Pressure Cooker Is a Chicken Breast Superhero
Okay, so why all the hype about a pressure cooker for chicken breast? Simple: speed and moisture. Traditional cooking methods can often dry out chicken breast faster than you can say “dinner’s ready.” But a pressure cooker, like an Instant Pot or other electric pressure cookers, creates a high-pressure, steamy environment. This not only cooks food incredibly fast but also locks in moisture, resulting in chicken that’s unbelievably tender and juicy every single time.
Think about it: less time hovering over the stove, more time, well, doing anything else! Whether it’s boneless, skinless chicken breast or bone-in pieces, the pressure cooker handles it like a champ. Plus, it’s pretty hands-off, which is my kind of cooking on a busy weeknight.
The Million-Dollar Question: How Long Do I Cook It?!
Alright, let’s get down to business. This is why you’re really here, right? The cooking time for chicken breast in a pressure cooker can vary slightly depending on a few factors:
- Thickness of the chicken: Thicker breasts will naturally take a minute or two longer.
- Whether it’s fresh or frozen: Frozen chicken takes longer (we’ll cover that!).
- Your desired texture: Shredded chicken vs. sliced chicken.
- Your specific pressure cooker: While times are generally consistent, a minute either way won’t hurt.
Boneless, Skinless Chicken Breast (Fresh/Thawed):
For average-sized boneless, skinless chicken breasts (about 6-8 ounces each), I typically recommend:
- Add 1 cup of liquid (water, broth, etc.) to the bottom of the pot.
- Place chicken breast on the trivet or directly in the liquid (I prefer a trivet for more even cooking and easier removal).
- Seal the lid, set vent to sealing.
- Cook on High Pressure for 6-8 minutes.
- Allow a Natural Pressure Release (NPR) for 5 minutes, then do a Quick Release (QR) for any remaining pressure.
That 5-minute NPR is crucial! It helps the chicken stay super tender and prevents it from seizing up. You’ll know it’s done when an internal temperature thermometer reads 165°F (74°C).
For Shredded Chicken:
If you’re aiming for shredded chicken for tacos, sandwiches, or casseroles, you can actually add a minute or two to that cooking time. A slightly longer cook with the natural release makes shredding a breeze. So, try 8-10 minutes on high pressure with a 5-minute NPR.
Can I Cook Frozen Chicken Breast in a Pressure Cooker? Absolutely!
This is where the pressure cooker truly shines! Forgot to thaw dinner? No problem. For frozen boneless, skinless chicken breasts (again, 6-8 ounces each):
- Add 1 cup of liquid.
- Place frozen chicken breasts directly in the pot. Try to separate them if they’re frozen in a solid block, if possible.
- Seal the lid, set vent to sealing.
- Cook on High Pressure for 10-12 minutes.
- Once done, allow a Natural Pressure Release (NPR) for 10 minutes, then do a Quick Release (QR).
The longer natural release is really important here to ensure even cooking through the frozen meat. Always, always check with a thermometer to ensure it reaches 165°F.
Pro Tips for Pressure Cooker Chicken Perfection
You’re practically a pressure cooker chicken expert now, but here are a few extra nuggets of wisdom to make sure your chicken turns out perfect every single time:
- Don’t skimp on the liquid: Your pressure cooker needs liquid to create the steam and pressure. One cup is usually sufficient for most recipes with chicken breast. Use broth for extra flavor!
- Season generously: Pressure cooking can sometimes mute flavors a bit, so don’t be shy with your salt, pepper, garlic powder, onion powder, or whatever spices you love. You can even marinate it beforehand (if not frozen).
- Batch cook and meal prep: This is my secret weapon for healthy eating. Cook a big batch of chicken breast on Sunday, and you’ve got a protein base for salads, wraps, pasta, or stir-fries all week long. It really makes meal prep a breeze!
- Let it rest: Just like with any meat, letting the chicken rest for a few minutes after cooking (even after removing from the pressure cooker) allows the juices to redistribute, leading to even more tender results.
- Mind the size: If you have very thick chicken breasts, you might want to slice them in half horizontally (butterfly them) to ensure more even cooking, especially if you’re in a super hurry.
The Takeaway: Your Pressure Cooker = Juicy Chicken, Fast!
So there you have it! Cooking chicken breast in your pressure cooker isn’t just easy; it’s practically foolproof for getting juicy, tender results every single time. Whether you’re making dinner from scratch or just prepping for the week, this method will save you valuable time without sacrificing flavor or quality.
No more bland, dry chicken on your watch! Grab your pressure cooker, pick out your favorite seasoning blend, and get ready for some seriously delicious meals. Trust me, once you try it this way, you’ll wonder how you ever managed without it. Happy cooking, friends!