Unlock Juiciness: How Long to Pressure Cook Chicken Breast for Perfect Results Every Time
Ever found yourself staring at a pack of chicken breasts, dreaming of a quick, juicy dinner, but dreading the dry, rubbery reality that sometimes comes with cooking them? Yeah, me too. For a long time, chicken breast was my kitchen nemesis. Pan-fried? Dry. Baked? Even drier. Then I discovered the magic of the pressure cooker, and my chicken breast game changed forever. Seriously, it’s a total game-changer!
If you’re wondering how long to pressure cook chicken breast to achieve that elusive, perfectly tender, and incredibly juicy texture, you’ve come to the right place. We’re going to dive deep into the ins and outs, secrets, and timing tips that will make you a pressure cooking pro. No more dry chicken, I promise!
Why Pressure Cook Chicken Breast? The Juicy Truth
Before we get to the ‘how long’ part, let’s chat about the ‘why.’ Why bother with a pressure cooker when you could just, you know, stovetop it? Well, speed is a huge factor. Dinner on the table in minutes? Yes, please! But for me, the real win is the texture. The high-pressure environment forces moisture into the chicken, resulting in something incredibly tender and moist, vastly superior to many other cooking methods.
Think about it: traditional cooking methods often involve moisture escaping, leading to dryness. A pressure cooker locks that moisture in, creating a steamy, hot environment that cooks food quickly and efficiently without drying it out. It’s like a spa day for your chicken!
Plus, it’s incredibly versatile. You can cook whole breasts, diced chicken for lightning-fast curries, or shred it for tacos and sandwiches. The possibilities are endless when your chicken is perfectly cooked.
The Golden Rule: Timing for Perfection
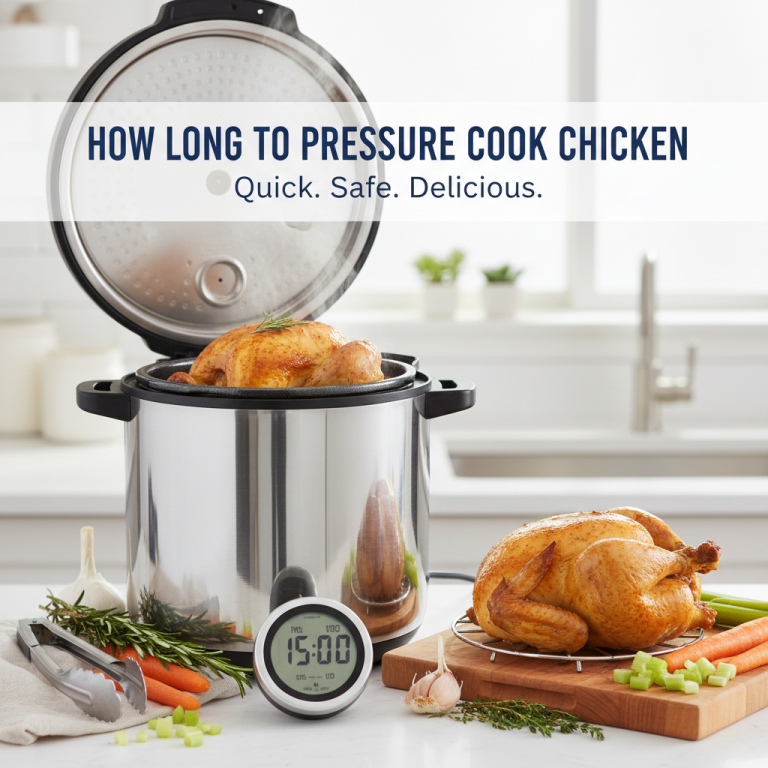
Alright, let’s get down to brass tacks: how long do you actually pressure cook chicken breast? The answer, like with many cooking questions, isn’t a single, one-size-fits-all number, but there’s a sweet spot we’re aiming for.
For boneless, skinless chicken breasts (the most common kind you’ll be cooking):
- Small to Medium (5-7 oz each): 6-8 minutes on high pressure.
- Large (8-10 oz each): 8-10 minutes on high pressure.
- Frozen Chicken Breasts: Add an additional 3-5 minutes to the cooking time listed above, depending on size and thickness. Remember to separate them if they’re frozen in a block!
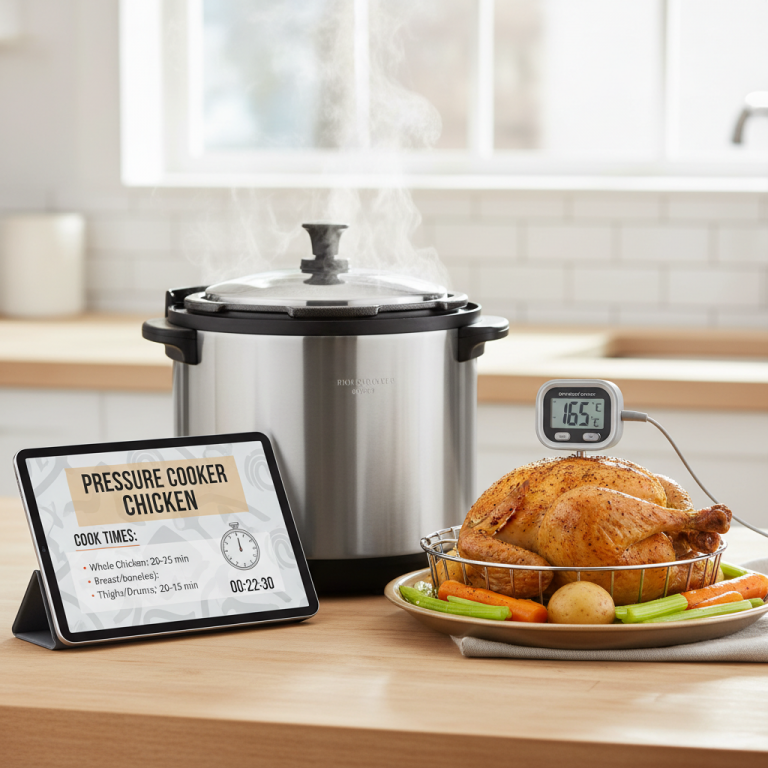
These times are for boneless, skinless breasts. If you’re cooking bone-in chicken, you’ll need a bit more time. For bone-in, skin-on breasts, you’re usually looking at 10-12 minutes on high pressure.
But here’s the crucial part: after the cooking time, you absolutely must allow for a Natural Pressure Release (NPR) for at least 5 minutes, or even better, a Full Natural Pressure Release. This allows the internal temperature to equalize, preventing the chicken from seizing up and becoming tough. If you do a Quick Release immediately, you risk dry, chewy chicken, and nobody wants that! Trust me, I’ve made that mistake one too many times.
For ideal doneness, chicken should reach an internal temperature of 165°F (74°C). A good instant-read thermometer is your best friend here. If it’s not quite there after the recommended time and release, you can always put the lid back on for another 1-2 minutes of pressure cooking.
Tips for Pressure Cooking Success (Beyond Just Timing)
Beyond the timing, there are a few other things you can do to ensure your chicken breasts are always amazing:
- Don’t Skimp on Liquid: You’ll need at least 1 cup of liquid (water, broth, or even a thin sauce) for most pressure cookers to come to pressure properly. This liquid is what creates the steam and pressure, so it’s essential. I often use chicken broth for added flavor.
- Avoid Overfilling: Don’t pack your pressure cooker to the brim. Give the chicken some space to cook evenly. Generally, don’t fill more than two-thirds full for most foods, and half full for frothy foods.
- Season Generously: Pressure cooking can sometimes mute flavors a bit, so don’t be shy with your seasonings. A good sprinkle of salt, pepper, garlic powder, and paprika works wonders. You can even add herbs like thyme or rosemary to the liquid.
- Consider Browning First (Optional): If you want a little extra flavor and color, you can sear the chicken breasts for a few minutes in a little oil using the sauté function of your electric pressure cooker before adding liquid and pressure cooking. This isn’t strictly necessary for tenderness, but it adds another layer of deliciousness.
- Rest Your Chicken: Even after pressure cooking and the natural release, letting the chicken rest for 5-10 minutes on a cutting board will allow the juices to redistribute, making it even juicier. This is a pro tip for any meat, not just chicken!
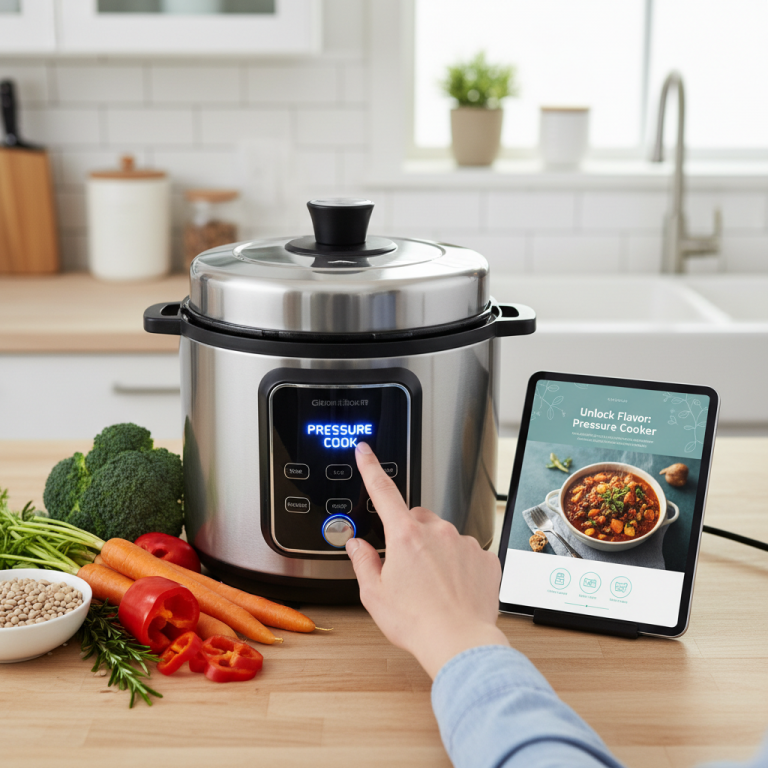
Using an electric pressure cooker, like an Instant Pot, makes this process incredibly user-friendly. Most models have intuitive settings that take a lot of the guesswork out of it. You can find more specific guidelines for your particular model in its owner’s manual or recipe guides.
The Versatility of Perfectly Pressure-Cooked Chicken
Once you’ve mastered the art of pressure cooking chicken breast, a whole new world of culinary possibilities opens up. Imagine perfectly shredded chicken for:
- Tacos, burritos, and enchiladas
- Chicken salad sandwiches
- Quick and easy chicken noodle soup
- Buffalo chicken dip (a personal favorite!)
- Caesar salads or Cobb salads
Or, keep the breasts whole and slice them for a delicious weeknight dinner with some roasted veggies or a side of quinoa. The fact that it cooks so quickly and stays so juicy means you can whip up healthy, flavorful meals even on your busiest nights.
I often cook a batch of 3-4 chicken breasts at the beginning of the week. Once they’re done and cooled, I shred or dice them and store them in the fridge. This makes meal prep a breeze and ensures I always have a healthy protein source ready to go. My future self always thanks me!
Ready to Pressure Cook Your Way to Perfection?
Don’t be intimidated by your pressure cooker! It’s an incredibly powerful tool that can transform your cooking, especially when it comes to notorious offenders like chicken breast. By following these timing guidelines and tips, you’re well on your way to consistently cooking chicken that’s tender, undeniably juicy, and packed with flavor.
So, go ahead, grab those chicken breasts, fire up your pressure cooker, and get ready to impress yourself (and anyone lucky enough to share your meal) with perfectly cooked chicken every single time. Happy cooking!