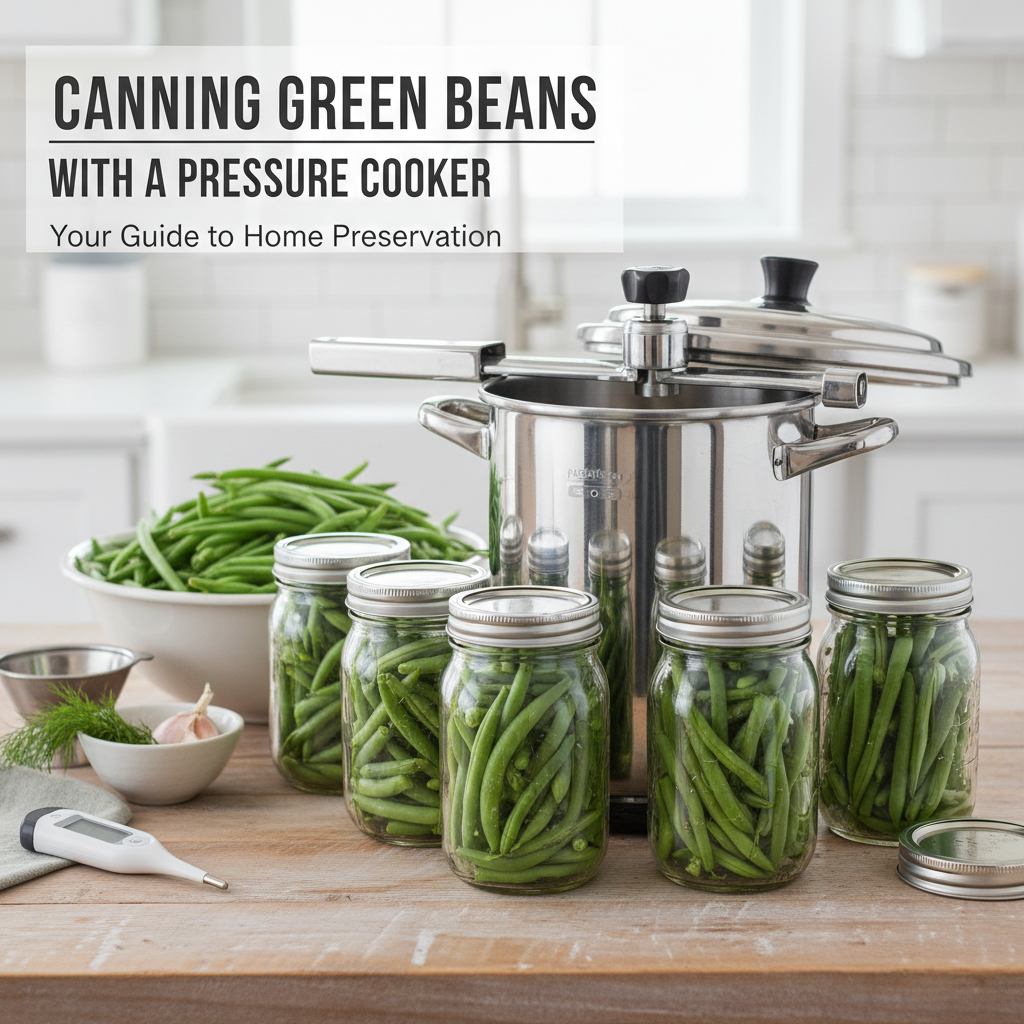
Pressure Canning Green Beans: Your Easy, Foolproof Guide to Freshness All Year!
Hey there, fellow food lover! Have you ever stood in your kitchen, admiring a bounty of fresh green beans – maybe from your garden, a farmers’ market haul, or even a great grocery store deal – and thought, “How can I make these last?” If so, you’re in good company. I’ve been there, staring at those crisp beauties, dreaming of summer flavors in the dead of winter. And that’s exactly why we’re going to dive into the wonderful world of pressure canning green beans today!
Canning might sound a little intimidating, like something only your grandma (or great-grandma!) would do. But I promise you, with a modern pressure canner, it’s totally achievable and incredibly rewarding. We’re talking about preserving that vibrant green color, that satisfying snap, and that garden-fresh taste. Plus, think of the money you’ll save and the peace of mind knowing exactly what’s in your food. I mean, who doesn’t love reaching into the pantry for a jar of homegrown goodness?
Why Pressure Canning is Your Green Bean’s Best Friend
Now, you might be wondering, “Can’t I just water bath can green beans?” And the short answer is: absolutely not! Green beans are a low-acid food. This means they require a much higher temperature than boiling water can provide to safely eliminate harmful bacteria, especially Clostridium botulinum, which can cause botulism. A pressure canner is designed to reach those super-high temperatures (usually around 240°F or 116°C) by creating steam pressure, making it the only safe method for canning low-acid foods like green beans, corn, and meats.
Don’t confuse a pressure canner with a regular pressure cooker, by the way! While both use pressure, a pressure canner is specifically designed for canning jars and maintaining precise pressure for extended periods. If you’re serious about home preservation, investing in a good quality pressure canner is a game-changer. It’s an initial investment, sure, but it pays dividends in stored food and culinary satisfaction.
Getting Started: Your Canning Checklist and Prep Work
Okay, let’s get down to business! Before we even think about turning on the stove, we need to gather our tools and prep our beans. Think of this as getting your ducks in a row – it makes the whole process smooth and enjoyable.
What You’ll Need:
- Pressure Canner: Make sure it’s in good working order, with a clean gasket and a clear vent.
- Canning Jars: Pint or quart size, with new lids and clean screw bands. Always use new lids!
- Green Beans: Fresh, tender, and free from blemishes. Estimate about 1.5 – 2 pounds for every quart jar.
- Salt (Optional): Canning salt, not iodized table salt, as iodine can discolor your beans.
- Basic Canning Tools: Jar lifter, canning funnel, bubble remover/headspace tool, clean cloths.
- Water: For blanching and filling jars.
Prepping Your Green Beans:
- Wash ‘Em Up! Give your green beans a good rinse under cold running water. You want them sparkling clean.
- Snap the Ends: Trim off the stem end of each bean. You can leave the tail end or snap it off – personal preference!
- To Cut or Not to Cut: Decide if you want whole beans or snapped into 1-inch pieces. I usually snap them into smaller pieces; they fit better in jars and are easier to eat later.
- Blanching (Optional but Recommended): This helps remove air, which improves color and packing. Briefly dip your prepped beans into boiling water for about 3-5 minutes, then plunge them into an ice bath to stop cooking. This isn’t strictly necessary for safety in pressure canning, but it does make for prettier beans!
The Main Event: Pressure Canning Your Green Beans Safely
Alright, you’ve got your beans prepped, your jars ready, and your canner gleaming. It’s time for the magic to happen!
Step-by-Step Canning Process:
- Pack Your Jars: You can choose hot pack or raw pack. For green beans, I usually do a hot pack because it helps prevent floating. Simply pack your blanched (or raw) beans snugly into warm, clean jars, leaving about 1 inch of headspace at the top. Don’t cram them – you need room for the liquid to circulate.
- Add Salt (if desired): If you’re using salt, add 1/2 teaspoon to pint jars or 1 teaspoon to quart jars.
- Fill with Hot Water: Pour boiling water over the beans, maintaining that 1-inch headspace. Make sure the beans are completely submerged.
- Remove Air Bubbles: Use your bubble remover tool (or a clean, non-metallic knife) to gently slide down the sides of the jar, releasing any trapped air bubbles. Re-check your headspace and add more water if needed.
- Clean Rims and Seal: Wipe the jar rims clean with a damp cloth – any residue can prevent a good seal. Place a new, warm canning lid on each jar, followed by a screw band, finger-tight.
- Load the Canner: Place your jars on the rack in your pressure canner. Don’t let them touch each other. Add the amount of water recommended by your canner’s manufacturer (usually 2-3 inches).
- Vent and Pressurize: Secure the canner lid. Turn the heat to high. Allow steam to escape from the vent pipe for a full 10 minutes. This vents all the air out, crucial for safe canning. After 10 minutes, place the weight or regulator on the vent pipe.
- Process! Once the gauge reaches your target pressure (check a reliable source like the USDA National Center for Home Food Preservation for your altitude and jar size), begin timing. For green beans, process pint jars for 20 minutes and quart jars for 25 minutes at 10 pounds of pressure (at sea level). Adjust pressure for your altitude if needed.
- Cool Down Naturally: When the processing time is up, turn off the heat. Do NOT remove the weight or lid! Let the canner cool down naturally until the pressure gauge reads zero. This can take 30-60 minutes, or even longer.
- Remove Jars and Cool: Once the pressure is at zero, carefully remove the weight. Wait another 10 minutes before opening the lid away from your face. Using your jar lifter, transfer the hot jars to a towel-lined surface, leaving space between them to cool. Let them sit, undisturbed, for 12-24 hours.
The Sweet Satisfaction: Checking Seals and Storing Your Harvest
After 12-24 hours, it’s time for the grand reveal! Check your jar seals. The lids should be concave (curved inward) and shouldn’t flex when pressed. If you hear a “pop” while they’re cooling, that’s a good sign of a seal! If a jar didn’t seal, don’t fret. You can either re-process it with a new lid (within 24 hours) or store it in the refrigerator and use it within a few days.
Once you’ve confirmed good seals, remove the screw bands, wipe the jars clean, and label them with the contents and date. Store your beautifully canned green beans in a cool, dark place, and they’ll be there, ready to add summer zest to your meals for up to a year (or even longer, though quality might decline a bit after that). Imagine the joy of opening a jar of these come January! It’s like a little ray of sunshine in the middle of winter. Happy canning!